

Introduction
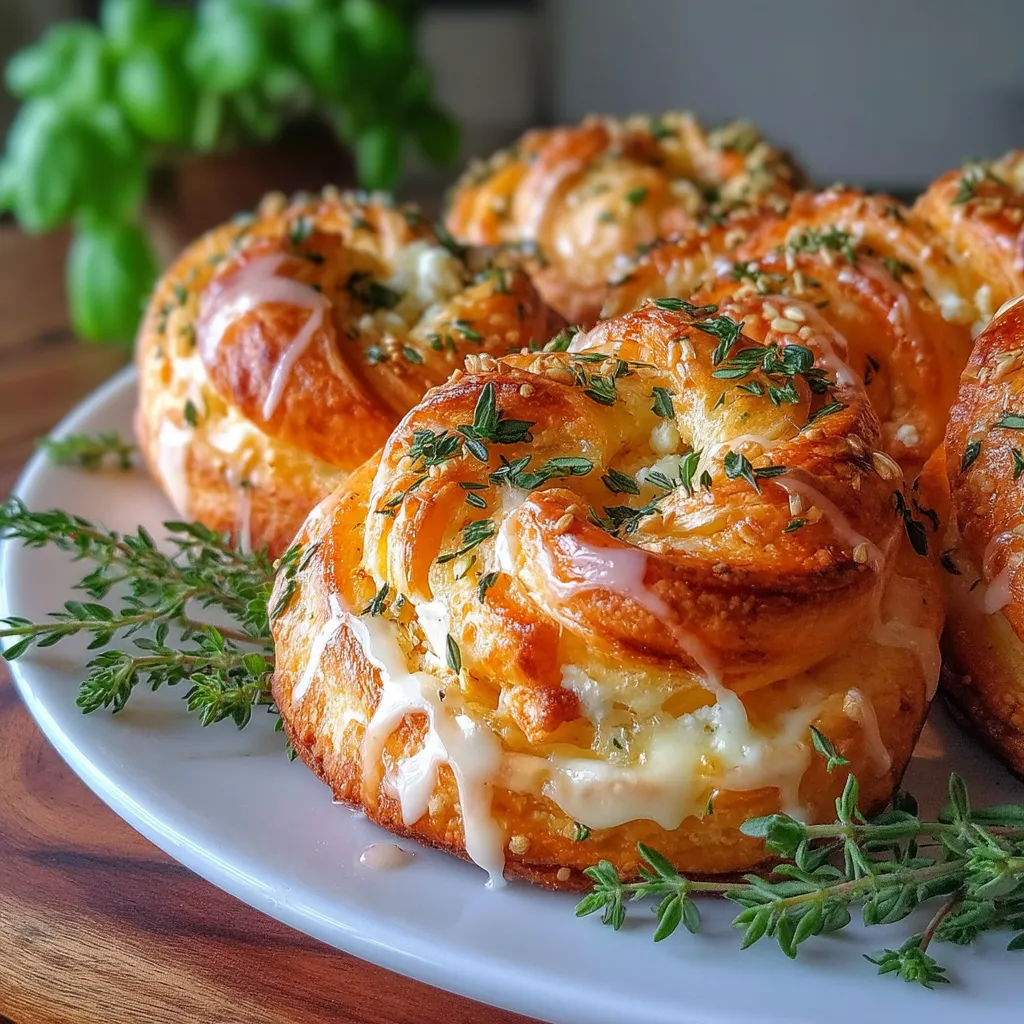
The Enchanted Herb Cloud Danish is a delightful pastry that combines an ethereal dough with a rich and flavorful herb filling. This unique blend of textures and tastes makes it an ideal choice for brunch gatherings or cozy weekend breakfasts. The light, flaky layers of the Danish envelop a creamy mixture of cheeses and fresh herbs, creating a savory treat that surprises and delights the palate.
Inspired by traditional Danish pastries, this recipe incorporates fresh ingredients that elevate the dish to new heights. Whether you’re entertaining guests or simply indulging in a special breakfast, the Enchanted Herb Cloud Danish promises to impress with its sophisticated flavor profile. In this article, we’ll walk you through the preparation process, highlight the significance of each ingredient, and provide serving suggestions to enhance your experience.
Recipe Overview
– Total Time: 2 hours (including resting time)
– Servings: 12 Danishes
– Difficulty: Medium
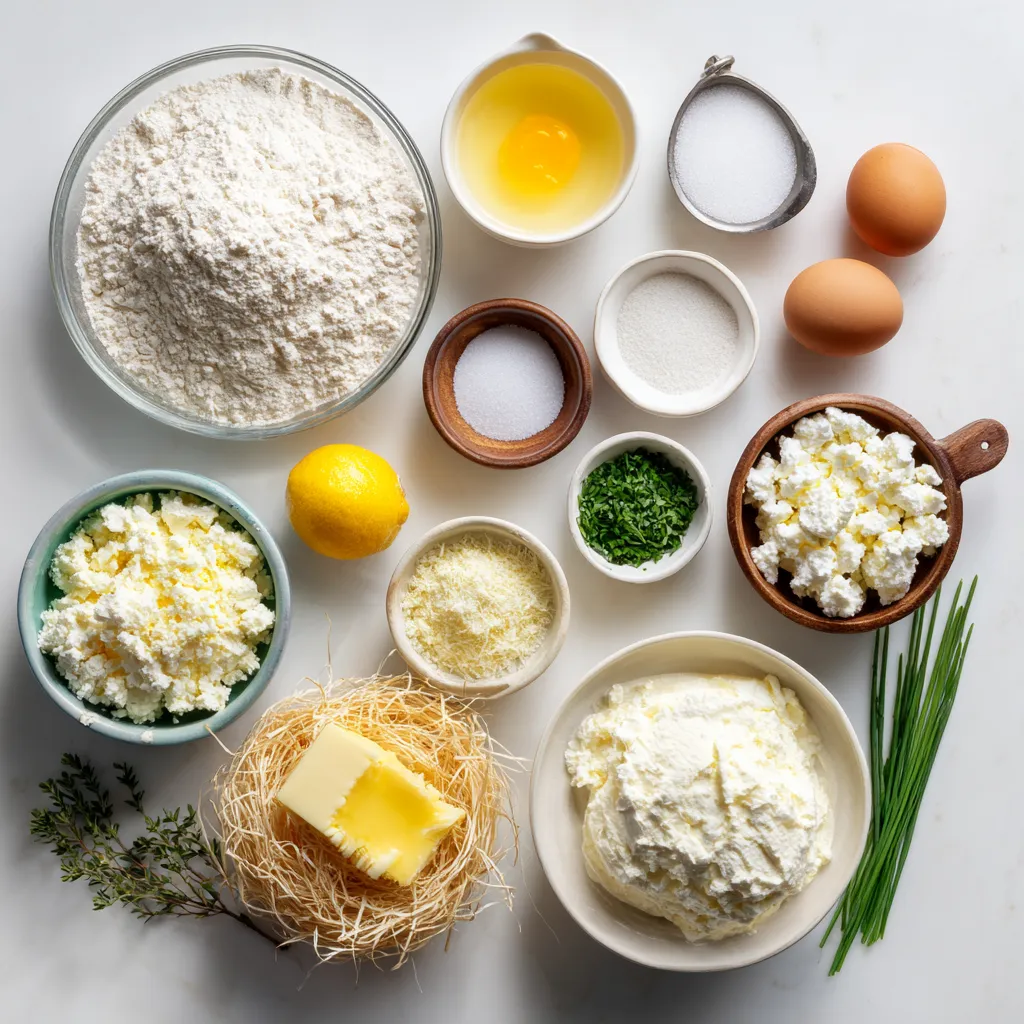
Ingredients
– 3 ½ cups all-purpose flour
– ¼ cup granulated sugar
– 1 teaspoon salt
– 2 ¼ teaspoons active dry yeast
– 1 cup whole milk, warmed
– 1 large egg
– ½ cup unsalted butter, softened
– 1 cup ricotta cheese
– ½ cup goat cheese, crumbled
– ¼ cup fresh chives, chopped
– ¼ cup fresh basil, chopped
– 2 tablespoons fresh thyme leaves
– Zest of 1 lemon
– Salt and pepper to taste
– 1 cup powdered sugar
– 2 tablespoons fresh lemon juice
– 1 teaspoon vanilla extract
Instructions
1. In a large mixing bowl, combine the all-purpose flour, granulated sugar, and salt. Mix well and set aside.
2. In a small bowl, dissolve the active dry yeast in the warmed whole milk. Let it sit for about 5 minutes until frothy.
3. Add the yeast mixture, egg, and softened unsalted butter to the dry ingredients. Mix until a dough forms.
4. Knead the dough on a floured surface for about 5-7 minutes until smooth and elastic.
5. Place the dough in a greased bowl, cover with a damp cloth, and let it rise in a warm place for approximately 1 hour or until doubled in size.
6. While the dough is rising, prepare the herb filling by combining the ricotta cheese, goat cheese, chopped chives, basil, thyme, lemon zest, salt, and pepper in a mixing bowl. Mix until well combined and set aside.
7. Once the dough has risen, punch it down and roll it out on a floured surface into a rectangle about ¼ inch thick.
8. Cut the rolled dough into squares, roughly 4 inches by 4 inches.
9. Place a generous tablespoon of the herb filling in the center of each square.
10. Fold the corners of the squares towards the center to create a pocket, pinching the seams to seal.
11. Place the shaped Danishes on a lined baking sheet and let them rise again for about 30 minutes.
12. Preheat the oven to 375°F (190°C).
13. Bake the Danishes for 20-25 minutes or until golden brown.
14. While the Danishes are baking, prepare the glaze by whisking together the powdered sugar, fresh lemon juice, and vanilla extract until smooth.
15. Once baked, remove the Danishes from the oven and allow them to cool slightly before drizzling with the glaze.
The Allure of Homemade Pastries
Homemade pastries bring immense joy and satisfaction, offering a sense of accomplishment that store-bought versions simply cannot match. The process of creating these delightful treats from scratch allows for customization and creativity, resulting in a final product that reflects personal taste and preferences. Additionally, homemade pastries often contain fresher ingredients, enhancing both flavor and nutritional value.
The cultural significance of Danish pastries spans various cuisines, each adding its unique twist to the classic recipes. Embracing the art of pastry-making at home not only connects us to these traditions but also enriches our culinary skills, making every bite of a homemade Danish a celebration of flavor and craftsmanship.
Preparing the Dough
Proofing Yeast and Mixing Dry Ingredients
To begin crafting your Enchanted Herb Cloud Danish, start by proofing the yeast. In a small bowl, combine warm water (about 110°F) with sugar and sprinkle the yeast on top. Allow it to sit for about 5-10 minutes until it becomes frothy. This indicates that your yeast is active. While waiting, mix your dry ingredients—flour, salt, and any additional spices—in a large bowl to ensure an even distribution.
Kneading Techniques for Dough Consistency
Once the yeast is ready, combine it with the dry ingredients and add melted butter and milk. Mix until the dough begins to form. Transfer it to a floured surface and knead for about 8-10 minutes, or until the dough is smooth and elastic. A well-kneaded dough should bounce back when poked, indicating the gluten has developed properly.
Importance of the First Rise
After kneading, place the dough in a greased bowl, cover it with a damp cloth, and let it rise in a warm, draft-free area. This initial rise is crucial for yeast activation, allowing the dough to double in size and develop flavor. Aim for 1-2 hours, or until the dough has expanded significantly.
Crafting the Herb Filling
Selecting Fresh Herbs and Cheese
To create the perfect herb filling, choose fresh herbs that will complement each other. Consider using basil, chives, and dill, or experiment with your favorites. Pair them with a creamy cheese like ricotta or cream cheese for a rich texture. Fresh herbs should be vibrant and aromatic, while cheese should be at room temperature for easy mixing.
Mixing Techniques for a Creamy Filling
In a mixing bowl, combine the selected herbs with the cheese and season with salt, pepper, and a touch of lemon zest. Use a fork or spatula to blend until smooth and well integrated. This ensures that every bite of your Danish is flavorful and creamy.
Shaping the Danishes
Rolling and Cutting the Dough
After the first rise, gently punch down the dough to release air and roll it out on a floured surface into a rectangle, about ¼ inch thick. Use a sharp knife or pizza cutter to cut the dough into squares, approximately 4×4 inches.
Filling and Twisting the Dough
Place a generous spoonful of the herb filling in the center of each square. To shape the Danish, fold the corners of the dough towards the center, creating a pinwheel effect. Pinch the edges to seal them securely. This not only adds visual appeal but also helps contain the filling during baking.
Visual Descriptions for Shaping
To aid your shaping process, envision the classic Danish look: a beautiful twist that reveals the herb filling. The corners should be slightly lifted, creating a cloud-like appearance that is both enchanting and appetizing.
Final Rise & Baking
Importance of the Final Rise
Once shaped, allow the Danishes to undergo a final rise for about 30-45 minutes. This step is essential for achieving a light and airy texture. Cover them loosely with a cloth to prevent drying.
Baking Tips and Signs of Doneness
Preheat your oven to 375°F (190°C). Bake the Danishes for 20-25 minutes, or until they are golden brown. Look for a puffed appearance and a lightly browned exterior, which signifies that they are perfectly baked.
Preparing the Glaze
Adjusting Glaze Consistency
For the glaze, mix powdered sugar with milk or cream until you achieve your desired consistency. A thicker glaze works well for drizzling, while a thinner glaze can be brushed on for a lighter touch.
Drizzling Techniques
Once the Danishes are out of the oven and slightly cooled, use a spoon or piping bag to drizzle the glaze over them. This adds a sweet finish and enhances their visual appeal.
Serving Suggestions and Pairings
Creative Serving Ideas
The Enchanted Herb Cloud Danishes are perfect for brunch or as a snack. Serve them warm, alongside a selection of herbal teas or freshly brewed coffee to complement the herbal flavors.
Presentation Tips
For gatherings, arrange the Danishes on a tiered platter or a decorative serving board. Garnish with fresh herbs or citrus zest to elevate their presentation and entice your guests.
Nutritional Information
These Danishes provide a delightful balance of indulgence and nutrition. The herbs offer vitamins and antioxidants, while the cheese contributes protein. Be mindful of portion sizes to enjoy them as an occasional treat without compromising your dietary goals.
Conclusion
The Enchanted Herb Cloud Danish is not just a recipe; it’s a delightful culinary experience that can brighten any occasion. Whether for a special celebration or everyday enjoyment, this recipe allows you to explore the joys of baking. Embrace the art of pastry making, and delight in sharing your creations with family and friends.
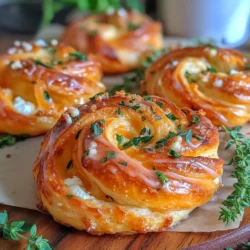
Mystical Herb Twist Charlemagne Danish
Ingredients
- 2.5 cups all-purpose flour
- 0.25 cups granulated sugar
- 1 tsp salt
- 2.25 tsp active dry yeast
- 0.5 cups whole milk, warmed
- 1 large egg
- 0.5 cups unsalted butter, softened
- 1 cups ricotta cheese
- 0.75 cups goat cheese, crumbled
- 2 tbsp fresh chives, finely chopped
- 2 tbsp fresh basil, chopped
- 1 tbsp fresh thyme leaves
- 1 zest lemon
- 1 to taste salt and pepper
- 1 cups powdered sugar
- 2.5 tbsp lemon juice
- 1 tsp vanilla extract
Instructions
- In a mixing bowl, combine the warmed milk and yeast. Let it sit for about 5 minutes until frothy.
- In a separate large bowl, mix the flour, sugar, and salt together. Create a well in the center, and add the egg and yeast mixture. Gradually mix until a dough forms.
- Knead the dough for about 5-7 minutes on a lightly floured surface until smooth.
- Add the softened butter and continue kneading until fully incorporated. Place the dough in a greased bowl, cover it with a damp cloth, and let it rise in a warm area for 1 hour or until doubled in size.
- In a medium bowl, mix together the ricotta cheese, goat cheese, chopped chives, basil, thyme, lemon zest, and season with salt and pepper. Set aside.
- Once the dough has risen, punch it down and roll it out onto a floured surface into a rectangle, about 0.25 inches thick.
- Cut the dough into long strips, about 4 inches wide. Spoon a generous amount of the herb filling onto the center of each strip.
- Fold in the edges of each strip over the filling and twist them gently to form a spiral shape. Place on a parchment-lined baking sheet. Repeat until all filling and dough are used.
- Let the twisted Danishes rise for another 30 minutes, covered with a cloth. Preheat your oven to 375°F (190°C).
- Bake for 20-25 minutes or until golden brown. Remove from the oven and let cool slightly.
- In a small bowl, mix the powdered sugar with lemon juice and vanilla until smooth. Adjust the consistency by adding more lemon juice if needed. Drizzle the glaze over the warm Danishes.
- Enjoy these delightful Mystical Herb Twist Charlemagne Danishes warm or at room temperature, perfect for brunch or an afternoon treat!